
How to Restore a Wooden Swing Set? A Detailed Guide
Share
Wooden swing sets hold a special place in our outdoor spaces. They provide endless entertainment for children and create cherished family memories.
However, over time, exposure to the elements can take a toll on even the sturdiest wooden structures. Instead of replacing your weathered swing set, consider restoration: it's more economical, environmentally friendly, and offers a rewarding DIY project.
This comprehensive guide will walk you through the process of bringing your wooden swing set back to its former glory.
Assessing the Damage
Before beginning your restoration project, carefully evaluate the condition of your swing set:
- Structural Integrity: Check for rotting wood, especially at ground contact points and joints. Gently probe suspicious areas with a screwdriver if it sinks in easily, you've found rot.
- Hardware Inspection: Examine all metal components for rust, wear, or damage. This includes hanging chains, bolts, screws, brackets, and swing hangers.
- Safety Check: Look for splintering wood, protruding nails, loose connections, or unsafe wear patterns on swing seats and climbing elements.
- Surface Condition: Note areas with peeling finish, discoloration, mildew, or weathering.
Gathering Your Supplies
Based on your assessment, collect these restoration essentials:
- Pressure washer or garden hose with spray nozzle
- Wire brush
- Sandpaper (various grits from 80-220)
- Sanding block or electric sander
- Wood cleaner/brightener
- Wood preservative
- Exterior wood stain or paint
- Clear sealant for waterproofing product
- Replacement hardware (stainless steel preferred)
- Replacement wood (if necessary)
- Safety gear (gloves, eye protection, dust mask)
- Basic tools (hammer, screwdriver, wrench set)
Step-by-Step Restoration Process
1. Disassembly and Documentation
Before you begin your restoration project, start with careful disassembly and documentation. Take photos from multiple angles to capture every detail before disassembling anything. Use painter's tape to label each component, and remove all the hardware, storing it in labeled containers. It’s best to only take apart what’s necessary for a proper restoration, as this will save you time and prevent any unnecessary complications later.
2. Cleaning and Preparation
Once everything is documented and set aside, clear the surrounding area of toys, vegetation, and debris to create a safe workspace. Clean the wood surfaces thoroughly by pressure washing or scrubbing to remove dirt, mildew, and any loose finish. For any stubborn mildew, a solution of one part bleach to four parts water works well. Allow the wood to dry completely; this may take one to two days depending on the weather.
3. Addressing Structural Issues
Now, let’s tackle any structural issues. If you notice any rotted wood, replace those parts immediately, and reinforce any weakened joints with the right brackets. Fill in minor cracks or holes with an exterior wood filler, and swap out any damaged or rusty hardware for stainless steel alternatives. This step is key to ensuring your swing set is not only restored but also safe and sturdy.
4. Sanding and Surface Preparation
After the repairs, it’s time to sand and prepare the surfaces. Start with coarse-grit sandpaper (around 80-100 grit) to remove the old finish and smooth out rough areas. Move on to a medium grit (120-150) for general smoothing, and finish with fine-grit sandpaper (180-220) to get rid of any splinters, especially on handrails, ladders, and seating areas. Be sure to wipe away all the sanding dust with a tack cloth to keep the surface clean.
5. Treating and Finishing
When you’re ready for finishing, first apply a wood preservative to help prevent future rot and insect damage. Once that’s dry, choose an exterior-grade stain or paint in your favorite color. Staining can really showcase the natural wood grain while also providing UV protection, whereas painting offers more color options and extra protection. Whichever you choose, make sure to apply at least two coats, following the drying times recommended by the manufacturer, and finish up with a clear, water-resistant sealant for that extra layer of protection.
6. Wood Selection for Replacements
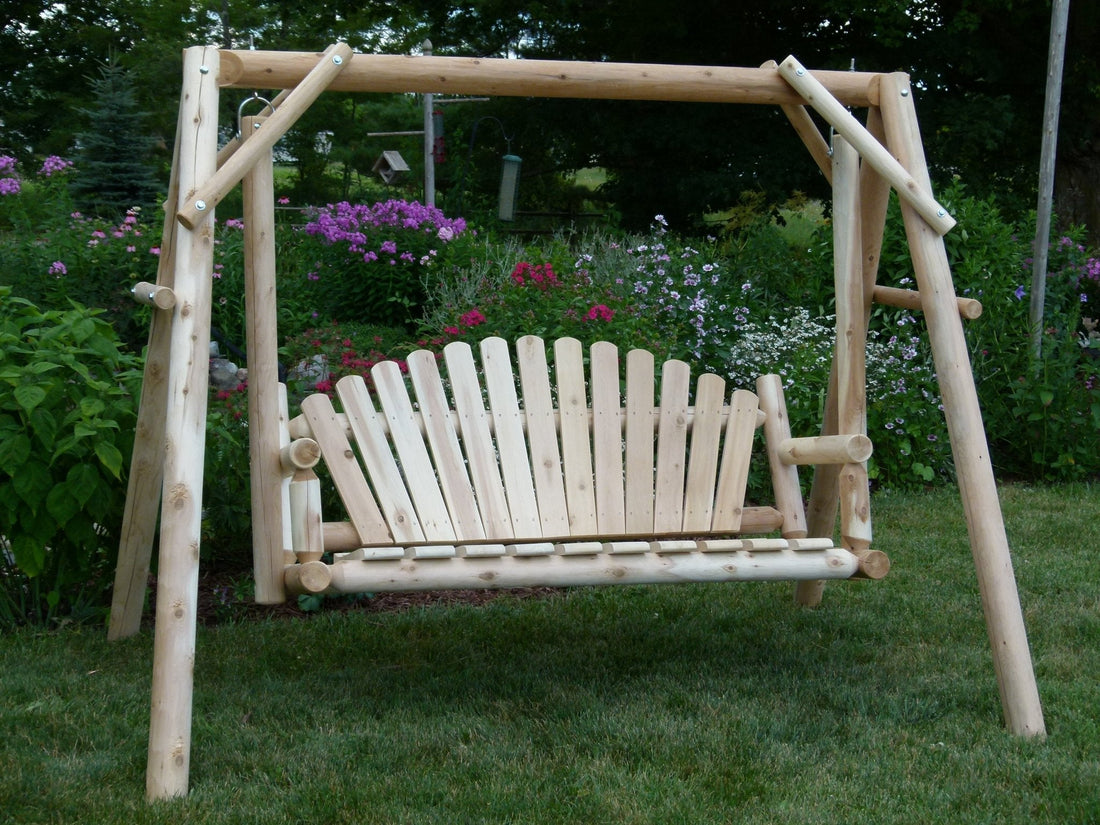
If you need to replace any wooden components, consider the type of wood used in your original set. Premium woods like white cedar or red cedar are excellent choices due to their natural resistance to decay, insects, and weathering. These woods contain natural oils that help them withstand outdoor conditions, making them ideal for swing set restoration projects.
7. Reassembly and Final Touches
Finally, it's time to reassemble everything. Use the photos and labels you made earlier as your guide, and replace any worn swings, chains, or rope elements with new ones. Make sure all the hardware is tightened securely, but be careful not to over-tighten and damage the wood. To wrap it all up, do any touch-up stain or paint on areas that might have been affected during reassembly.
Maintenance Tips for Longevity
To extend the life of your newly restored swing set:
- Annual Inspection: Check for loose hardware and tighten as needed
- Seasonal Cleaning: Wash surfaces to prevent dirt and mildew buildup
- Regular Sealing: Apply a fresh coat of sealing every 1-2 years
- Prompt Repairs: Address any damage immediately to prevent deterioration
- Winter Protection: In harsh climates, consider covering elements or removing swings during winter months
When to Call a Professional
While most swing set restoration projects are DIY-friendly, it's important to recognize when professional help might be necessary. If you notice significant structural damage or discover extensive rot or insect infestations, it's a clear sign that an expert should take a look. Additionally, if your swing set is very large or complex, the challenges of restoring it might exceed what you can comfortably manage on your own. And, if you're not comfortable working with pressure-treated lumber, calling in a professional can ensure the job is done safely and effectively. Ultimately, knowing your limits is key to keeping the project both fun and secure.
Final Thoughts
Restoring a wooden swing set is more than just maintenance, it's preserving a backdrop for childhood memories. With proper restoration techniques and regular upkeep, your swing set can remain a beautiful, safe, and cherished part of your outdoor space for many more years of family enjoyment.